There’s nothing faster than cutting and pasting! When you’ve taken the time to create beautiful Illustrator vectors, here’s how to use them in Photoshop for the most efficient workflow. In this post, I will show you the top 3 ways to cut and paste from Illustrator to Photoshop, and you’ll learn tips for working creatively with vector art in Photoshop.
1. Paste As Layers from Illustrator to Photoshop
Illustrator Pattern-Filled Art
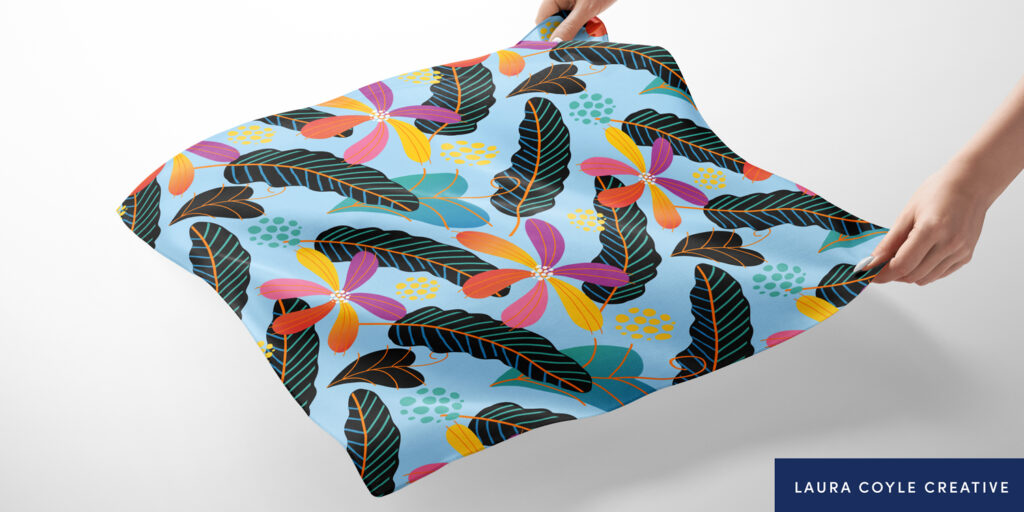
When I want to add a field of repeating pattern to a Photoshop mockup, I save myself the step of exporting an image from Illustrator and just copy/paste it into Photoshop, choosing As Layers.
This rasterizes the pattern art and anti-aliases it — without those white line tiling artifacts!
- Create a rectangle (or another shape) in Illustrator and apply the pattern fill swatch at the scale you need to create a field of pattern.
- Select the pattern rectangle and choose Edit > Copy.
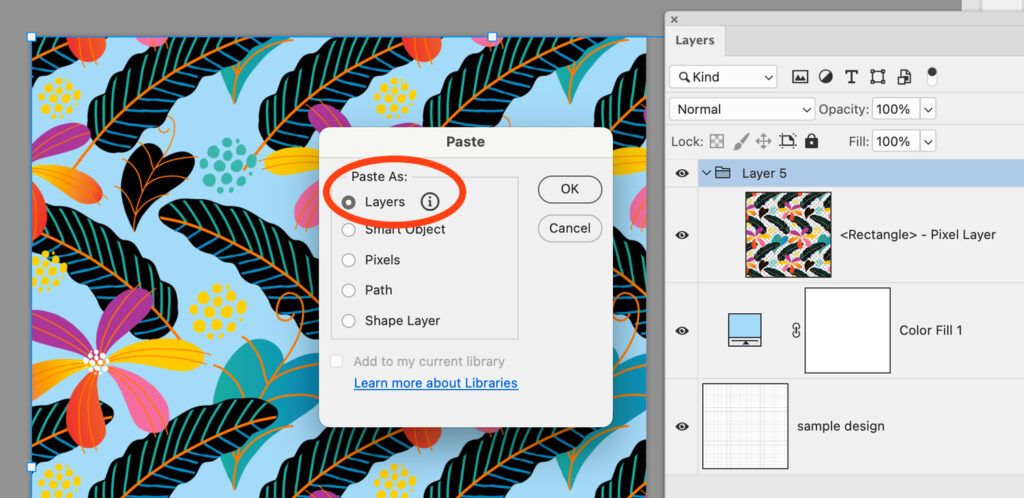
- In Photoshop, choose Edit > Paste. Under Paste As: choose Layers. Click Continue (the pattern fill will be rasterized).
- A layer group containing your rasterized, pattern-filled rectangle is created. Use command/ctrl + shift + U to ungroup.
Add the pattern to a mockup. Create a layer mask to mask the pattern. Or, if your mockup uses smart objects, double-click to open the smart object first, and then paste the pattern rectangle from Illustrator into the smart object by choosing Paste as Layers.
Illustrator Vector Paths
Paste as Layers is also an easy way to bring your Illustrator vector paths into Photoshop.
In Photoshop, the paths you paste become a series of shape layers nested inside layer groups that maintain the layer structure you created in Illustrator. The blending modes and opacity settings from Illustrator are also preserved. For the best results from Illustrator, take the time to simplify and prepare your paths before pasting them.
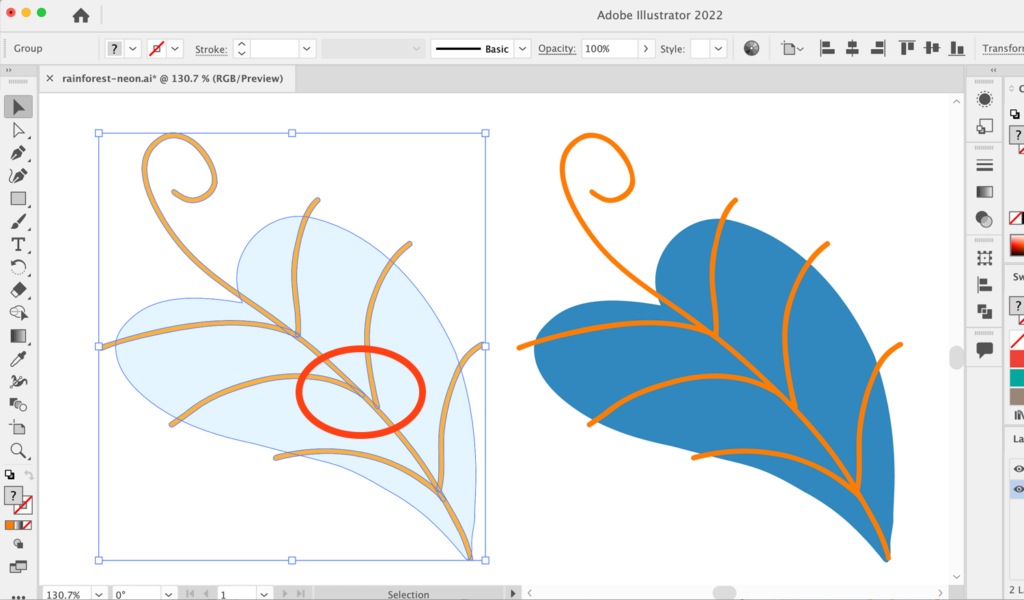
- Merge blob brush strokes or anything you want to behave as one path so you don’t create an endless stack of extra shape layers in Photoshop.
- Clean up any stray points or paths that aren’t necessary.
- Try copying a few leaves at a time, rather than a whole design at once, to keep things simple.
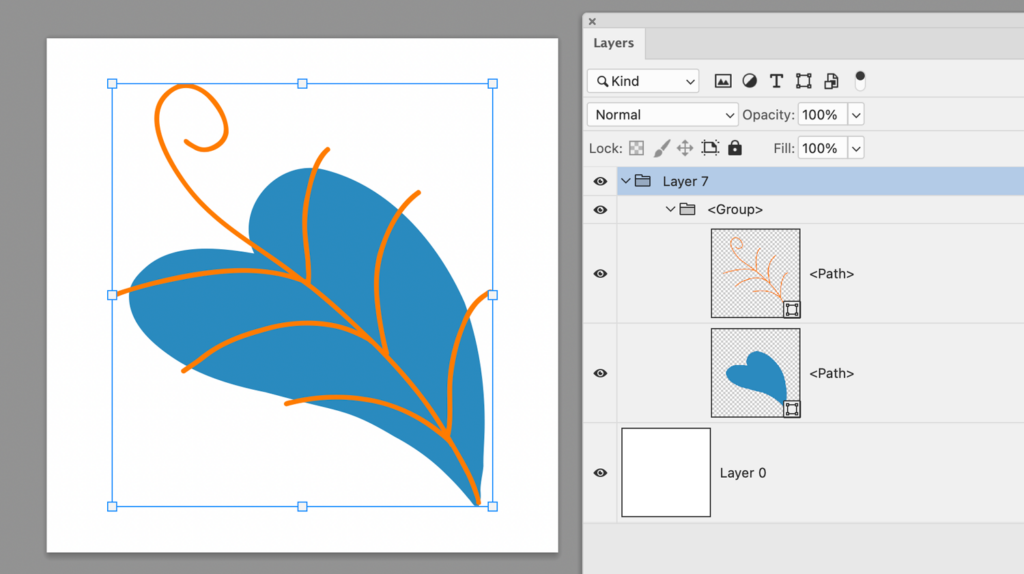
Note: Paste as Layers does not support Illustrator art with freeform gradients or non-native content.
Once you have Illustrator paths in your Photoshop document as shape layers, you can apply pattern presets, use them as masks, and more! See Fun with Shape Layers below.
2. Paste As Smart Object from Illustrator to Photoshop
Vector smart objects are like having an Illustrator file wrapped inside a Photoshop layer. They retain all the scalability and editability of vector art.
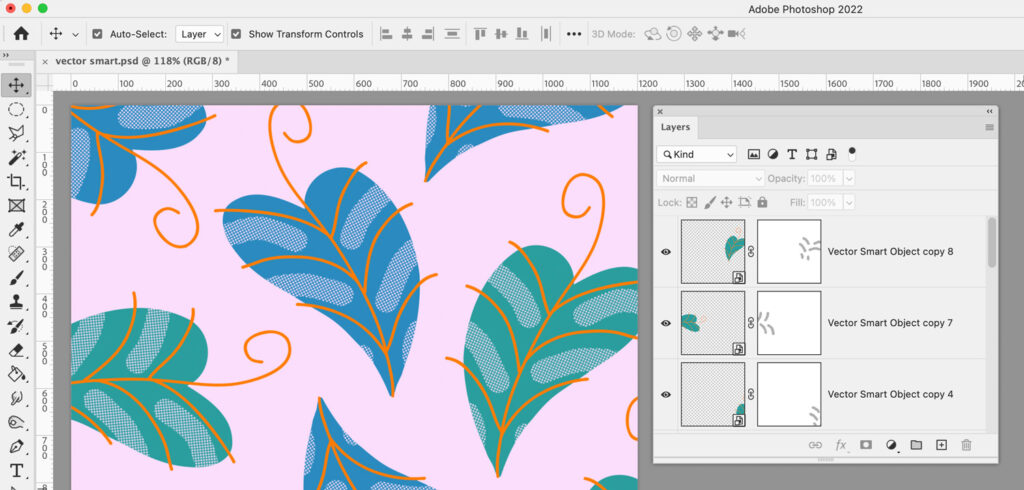
- Copy your Illustrator artwork and check Smart Object when you paste it into a Photoshop document.
- In Photoshop, scale the art as needed.
- Tap enter/return, or click another layer or tool, to create the vector smart object.
The vector smart object contains the Illustrator layer structure, applied swatches, applied brushes, and other dynamic content, like any Illustrator file.
A Few Vector Smart Object Tips:
- Double-click the smart object thumbnail to edit the Illustrator file.
- Always save the changes you make in Illustrator to see the updated art in Photoshop.
- In Photoshop, you can make transformations and other non-destructive edits to vector smart objects but not pixel-altering edits.
- To make pixel edits, rasterize the smart object first. It will no longer be editable inside Illustrator.
- Pattern fills inside vector smart objects remain vector, but they may show the white tiling lines from Illustrator, so use Paste as Layers to eliminate lines.
Bonus: If you place a Capture shape from a CC Library into Photoshop, it becomes a vector smart object you can edit in Illustrator. Right-click the Capture shape and choose Place layers to create the vector smart object.
3. Paste as a Shape Layer from Illustrator to Photoshop
When you paste artwork from Illustrator as a shape layer, your selected art will be filled with the foreground color in Photoshop and combined into one shape layer. This differs from pasting as layers, which results in groups of shape layers.
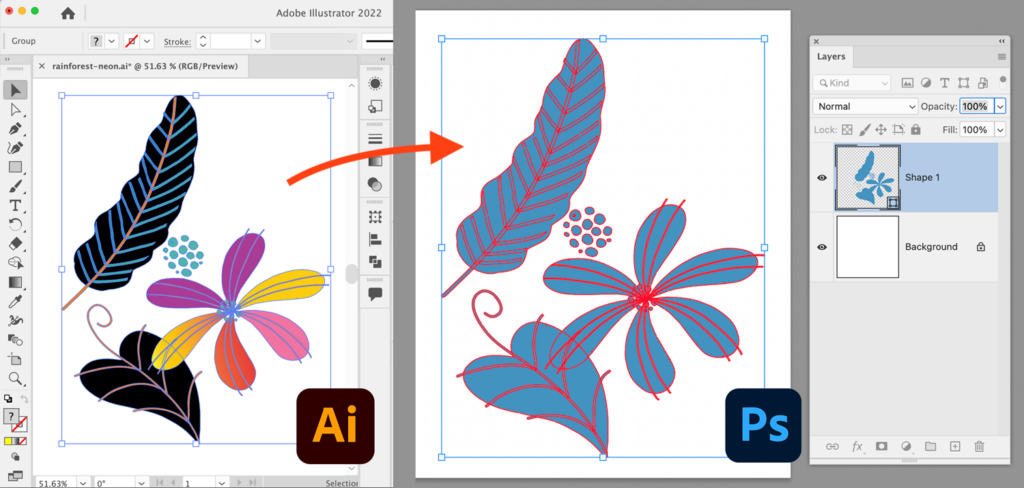
Shape layers are vector paths that are fully scalable and render at the size and resolution of your Photoshop document. As long as you maintain the layers, the paths retain vector scalability without losing quality. If you flatten the art, shape layers are rasterized.
Tip: Double-click on the shape layer thumbnail to change the fill color.
Fun with Shape Layers
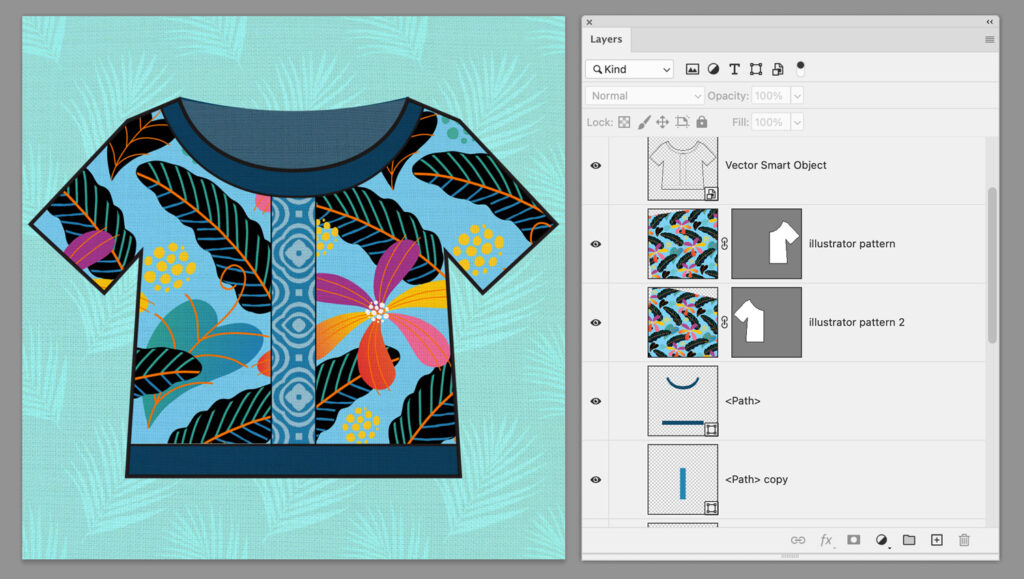
Create a Vector Layer Mask from a Shape Layer
- Place the shape layer above the layer to be masked.
- Hold command/ctrl and drag the shape layer onto the layer below. This creates a vector layer mask.
- If your shape layer has a fill color, it will become a separate fill layer on top of the masked layer. Turn the fill layer’s visibility off, or delete it.
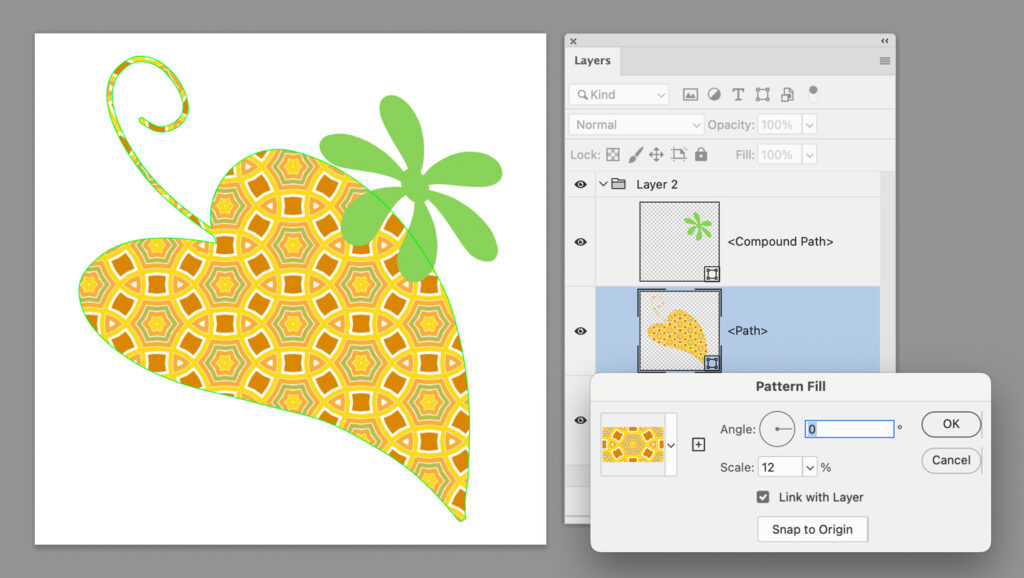
Fill a Shape Layer with a Pattern Preset
- Drag a Photoshop pattern preset swatch to a shape layer to fill the shape with a pattern.
- Double-click the layer thumbnail to adjust the scaling and rotation of the pattern fill.
Use a Shape Layer as a Clipping Mask in Photoshop
- Select a shape or shapes in Illustrator, copy them, paste them in Photoshop, and choose Shape Layer.
- Place the pixel layer to be masked above the shape layer,
- Hold opt/alt and click between the layers to clip.
- Select both layers, right-click (or control-click) and choose Link Layers to keep them together
Working from Illustrator to Photoshop
Pasting the vector art you create in Illustrator into a Photoshop document can add a powerful boost to your workflow! Once you know the options and the differences, you’ll get the most out of your vector art. Bookmark this article for quick reference on all the steps!

Written by Laura Coyle
Website: www.lauracoylecreative.com
Instagram: @lauracoylecreative
In her 25-year career Laura Coyle has illustrated for major brands including Target, Hallmark, Hasbro, Amazon, Disney and Papyrus — all while working in Adobe Illustrator. As an instructor she loves making Illustrator and Creative Cloud accessible and teaching you the “why” behind her techniques.
Want to save this post to find it later? Pin one of the images below.
