Since I started my art licensing career, I am always looking for better ways to make my design process smooth and easy to follow. Because to be honest I am not fast at drawing and creating my motifs can take a lot of time. I wanted to develop my design ideas more quickly, so I tried different drawing and design techniques to create my motifs and then my patterns. So far Procreate has been my number one choice to sketch and draw my motifs and illustrations. Even if I am planning on creating a vectorized collection that will be finished in Adobe Illustrator later, Procreate is my best friend for creating my artwork.
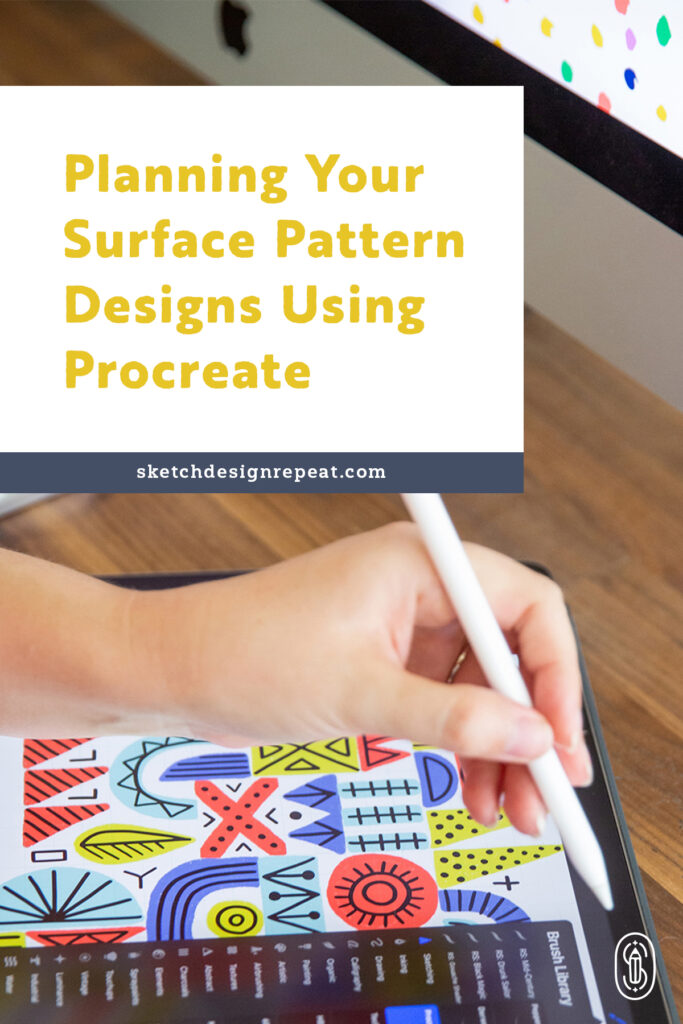
For me, drawing doesn’t come as easy as I would like to admit and sometimes it stresses me out because it takes me a lot of time to have my motifs ready to create my patterns. Procreate has been a game changer for my design process. Not only because I can sketch and draw whenever I want and don’t need to be in front of my computer all the time, but because this App is super user-friendly and has drawing gestures that make sketching, drawing, and illustrating so easy.
Who is not afraid of a blank page? In Procreate I love that I can cut and repeat a part of my sketch or cut it and paste it without having to re-draw it again. Also, I can simply UNDO if I make a mistake or erase something without damaging my paper and having to throw it away.
In the past, I used to draw my motifs in Procreate and take them to Adobe Illustrator or Adobe Photoshop to finish my pattern. But since I discovered that in fact, I can totally create patterns in Procreate, I have been planning my collections within the App.
Yes, I do know Procreate has its pros and cons. For me, one of the cons is that the motifs can get pixelated if you move them around the canvas, and (in my case) I move them a lot when I am planning my designs. So I found that for planning my collections for my portfolio, creating patterns in Procreate is a great idea because it is fun, simple, and quick.
Last year when planning my Skillshare class “Design Patterns in Procreate,” I investigated a lot and learned different ways to create patterns within the App and also the different types of pattern structures that can be created. This helped me to improve my design compositions and allowed me to play around with different versions of the same idea — to either develop the pattern within Procreate or to take the motifs to Adobe Photoshop or Adobe Illustrator to complete my pattern.
Doing this allowed me to understand better how the pattern structure will change the total look of the design, even if you have the motifs in the same place.
Types of Pattern Structures
There are a variety of pattern structures and compositions that will make the design look completely different by changing the placement of the repeated square. The ones I used the most are:
Basic Pattern
In this type of structure, the square will be repeated equally towards the left and right then up and down.
Half Drop Pattern
In this type of structure, the square will be moved half up or half down in the next quadrant. This movement creates a more harmonious design where the repeat squares are less obvious to the eye.
With each structure, even if I use the same placement for my motifs, the result will be a completely different pattern.
Related Article: Common Surface Pattern Design Terms Explained
Working on My Design
To develop my design idea, I first start creating quick sketches of my motifs. I create a new canvas to work my pattern (normally I will go with a 10″x10″ canvas) and start placing the motifs inside the canvas exactly where I want each motif to be. I’ll be careful to not touch the edges of the canvas.
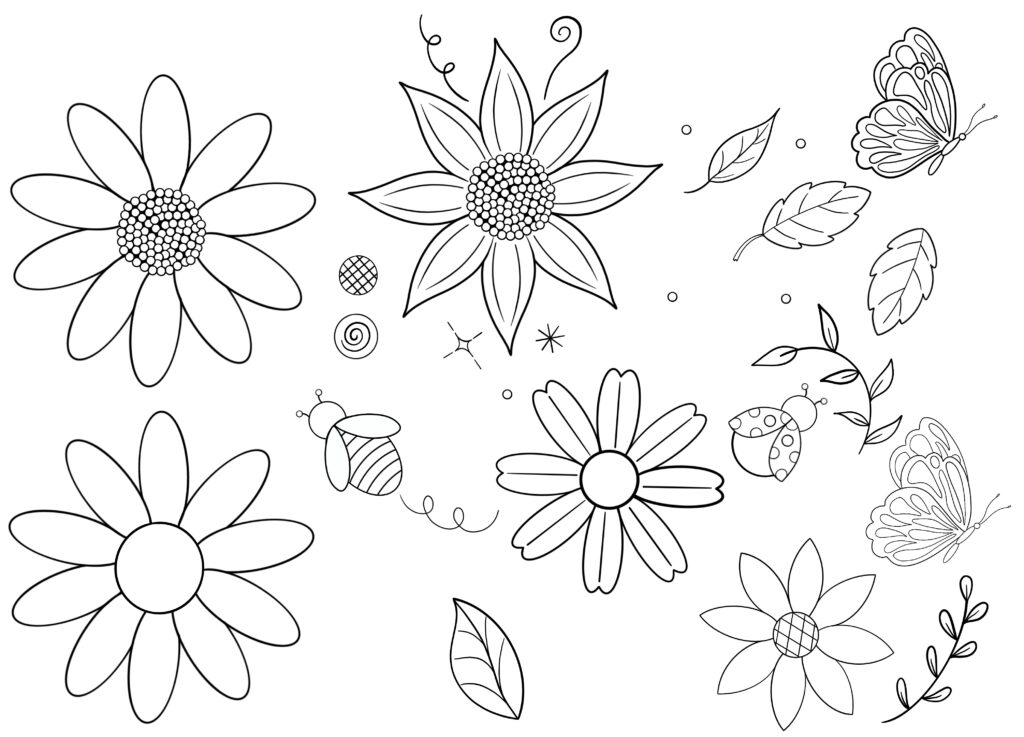
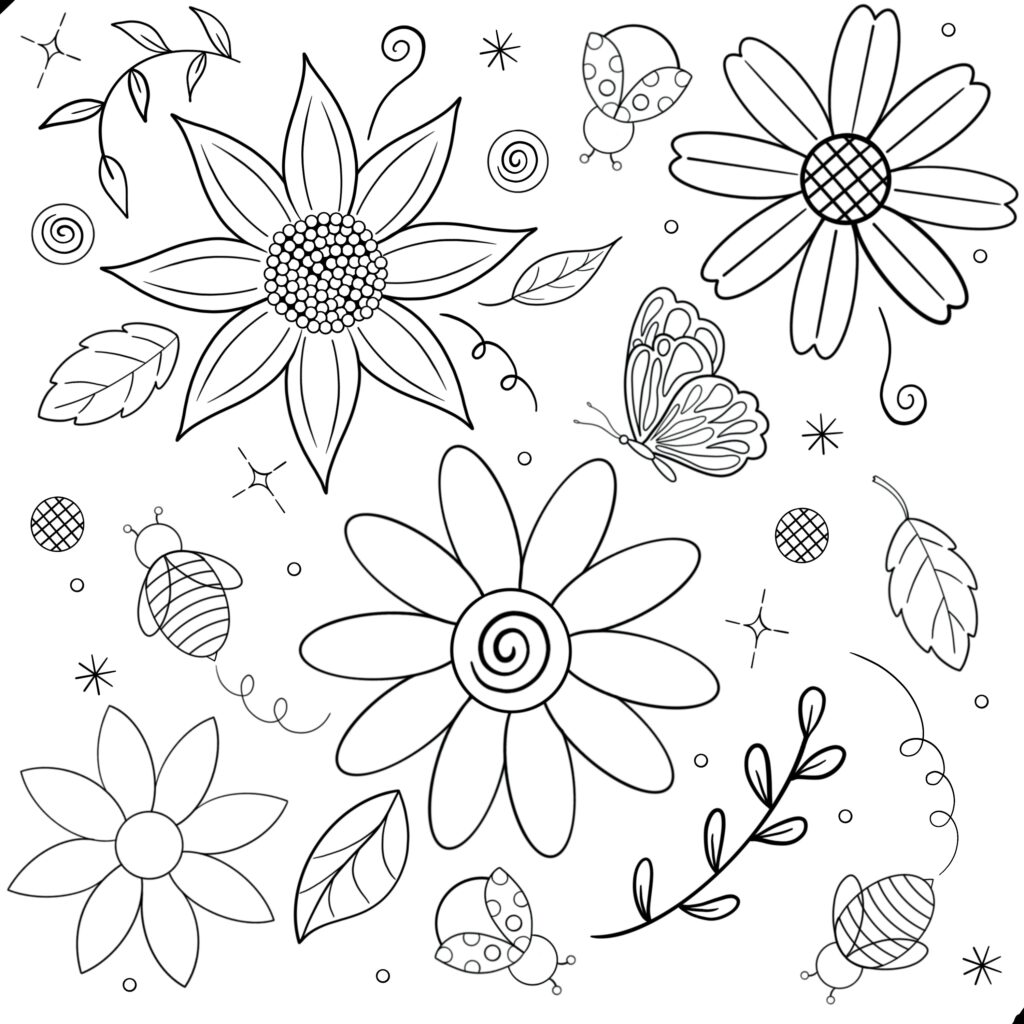
With my lined sketches (and without colors) I create my designs using the two different structures I mentioned so I can see which position of the motifs works better. This way I can create the repeated square of each design so when I work on the idea in Adobe Illustrator or Adobe Photoshop, I can know exactly where to place the motifs within my final pattern.
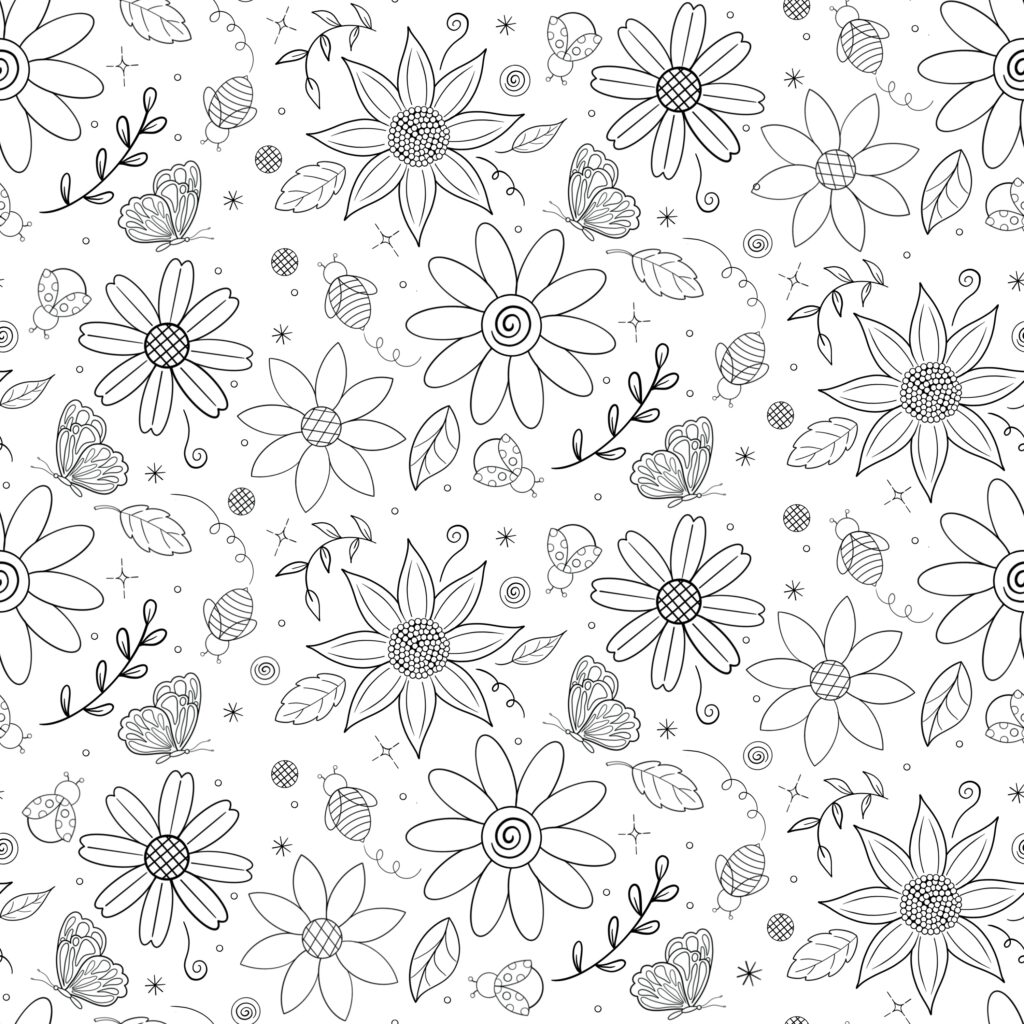
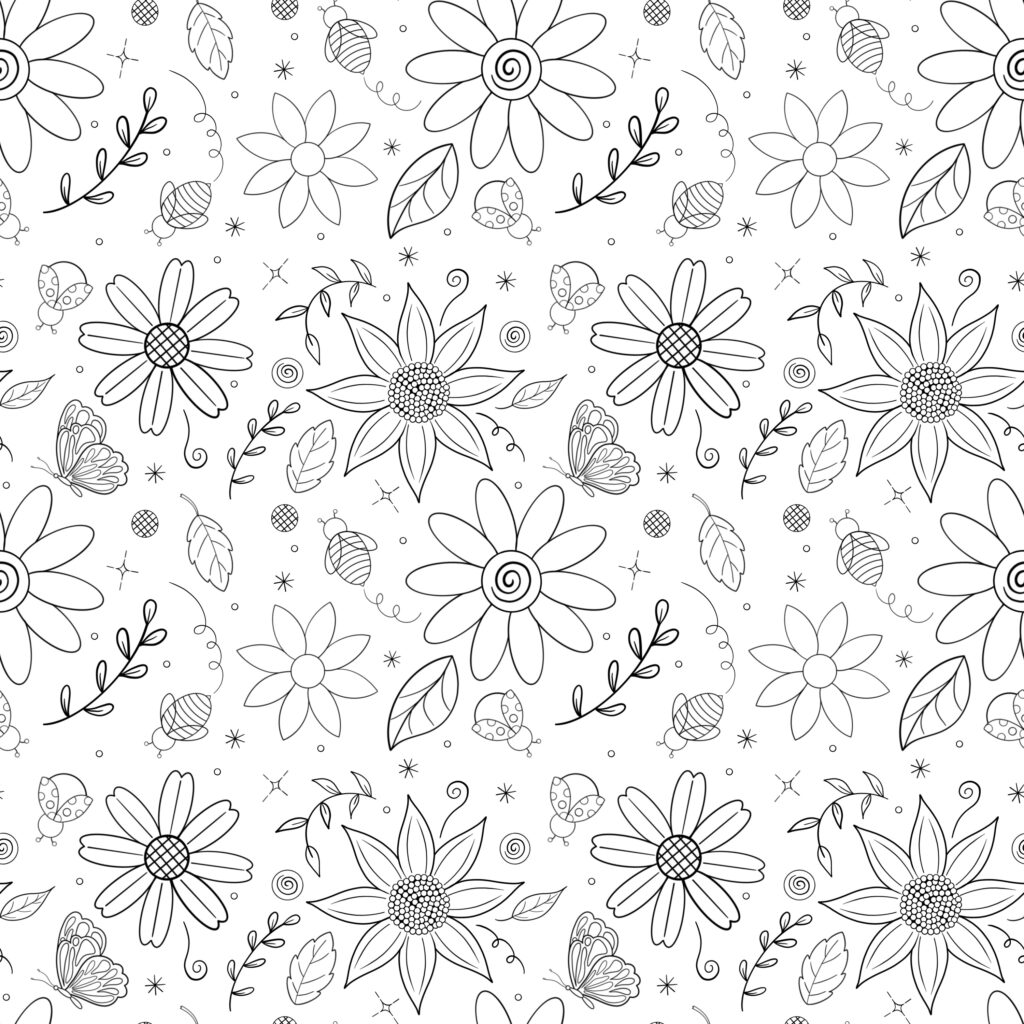
When I finish playing around with the placement of my sketches, I then decide which I will like to have as my final design. I continue coloring and finishing my drawings in case I want to work the pattern in Procreate or take them to Adobe Photoshop.
In case I want to create a vector version of my design, I create my motifs in Adobe Fresco and take them to Adobe Illustrator to work on my pattern.
In the past, I used to take my lined drawings from Procreate to Adobe Illustrator to vectorize them but the result was not what I wanted. The lines were weird and not as smooth as I drew them in Procreate and in my opinion, vector drawing works best in Adobe Fresco or Vectornator.
In Adobe Illustrator I will then create a square of the same size I did for my Procreate canvas (10″x10″) and place the motifs in the exact placement I did in Procreate. This way I will have created a vector version of my design in Adobe Illustrator.
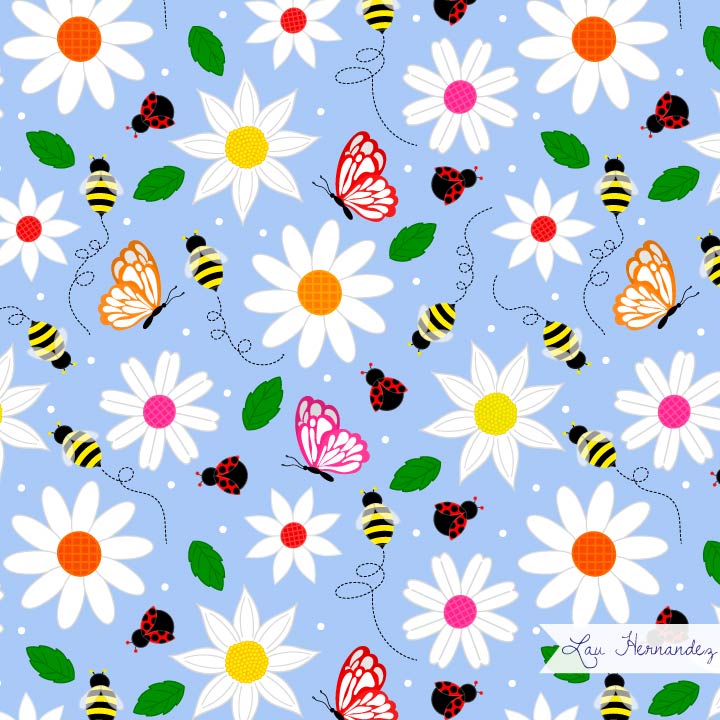
This technique helps me a lot when I am in a hurry and need new designs or I am out of my office and want to brainstorm new ideas. Also when I want to sketch ideas for new patterns without having to walk through my entire design process. I can create quick pattern ideas and correct the placement and sizes of my motifs to have better and more harmonious designs in my portfolio. In case an idea doesn’t work, I can tweak and play with it until I like it.
Written by Lau Hernandez
Website: www.lauhernandez.com
Instagram: @lauhernandezrd
I live in the middle of the Caribbean where the sun is bright, the food is savory and the music is joyful. My designs are bright and bold, always a reflection of my happy soul. I like to think we can design the future we want to live in and paint a better world filled with bright colors.
How do you make the basic or half drop repeat in Procreate? Do you just manually move the uncolored motifs or is there a specific method on how to do this? I’m new to pattern design and procreate.